
Fight, Flight or Film

From "All Mine!" to "All Mine! The Way It Should Be"
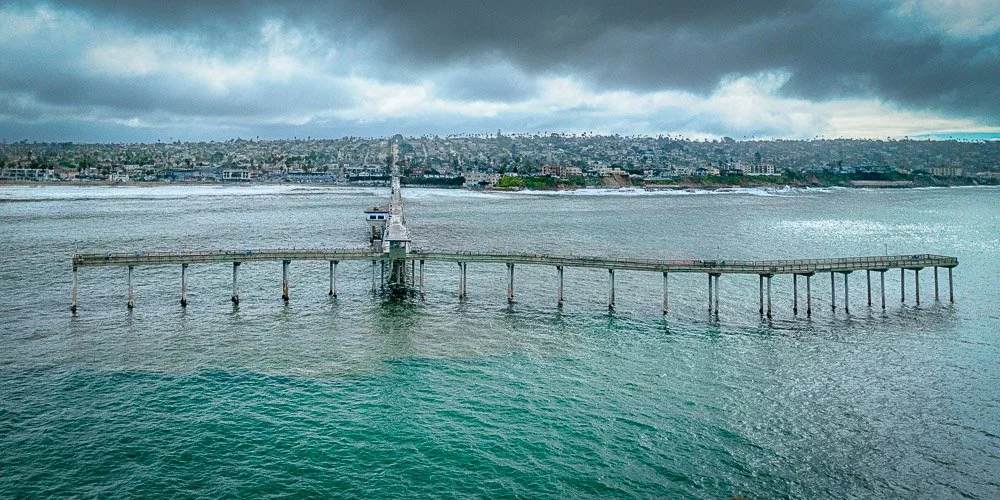
Before the Farewell: Documenting the Ocean Beach Pier in Unprecedented Detail: 4.7 Billion Pixels of History

The House of the Devil A visit to Casa Diablo Mountain
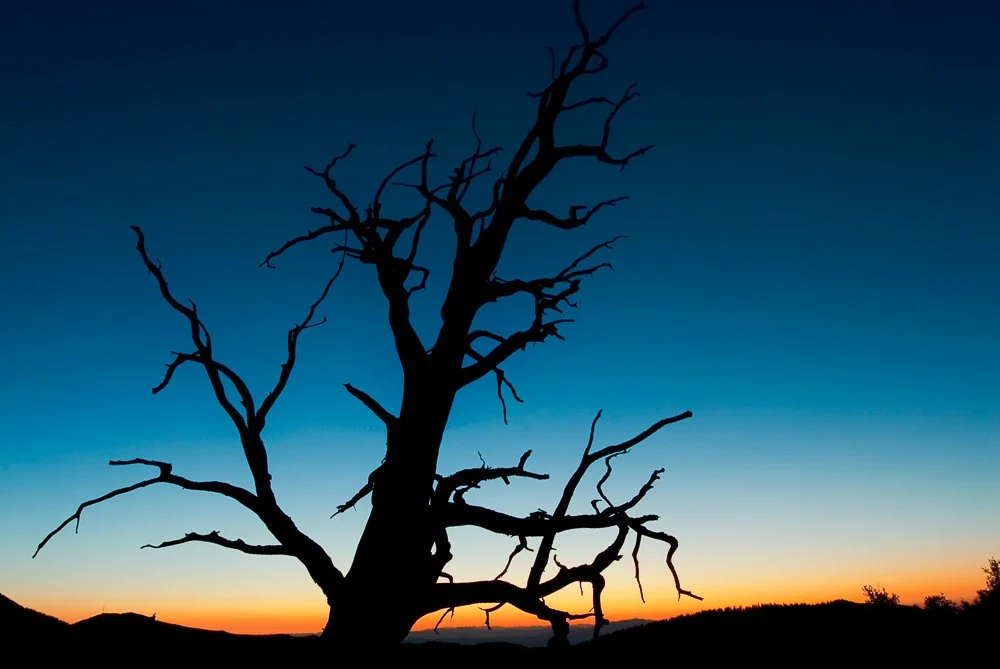
Ancient Trees on Snow Covered Mountains A visit to Bristlepine Cone Forest near Bishop, California
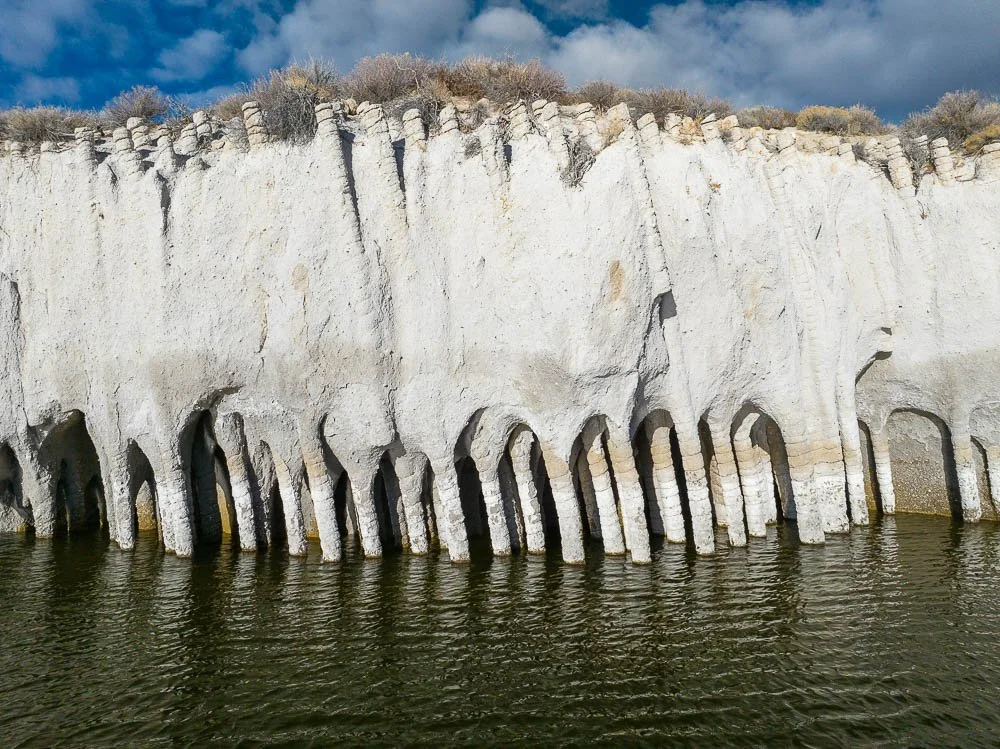
Ancient Temples in the Sierra Nevada? The Stone Columns at Crowley Lake

Scalding Hot Water from the Earth: A Visit to Hot Creek near Mammoth Lakes, CA

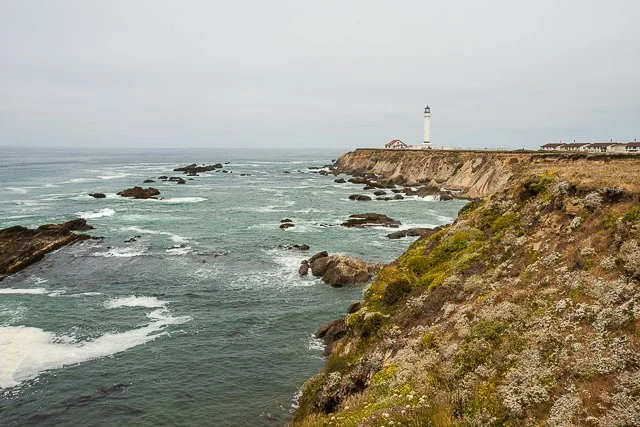
The Point Bonita Lighthouse
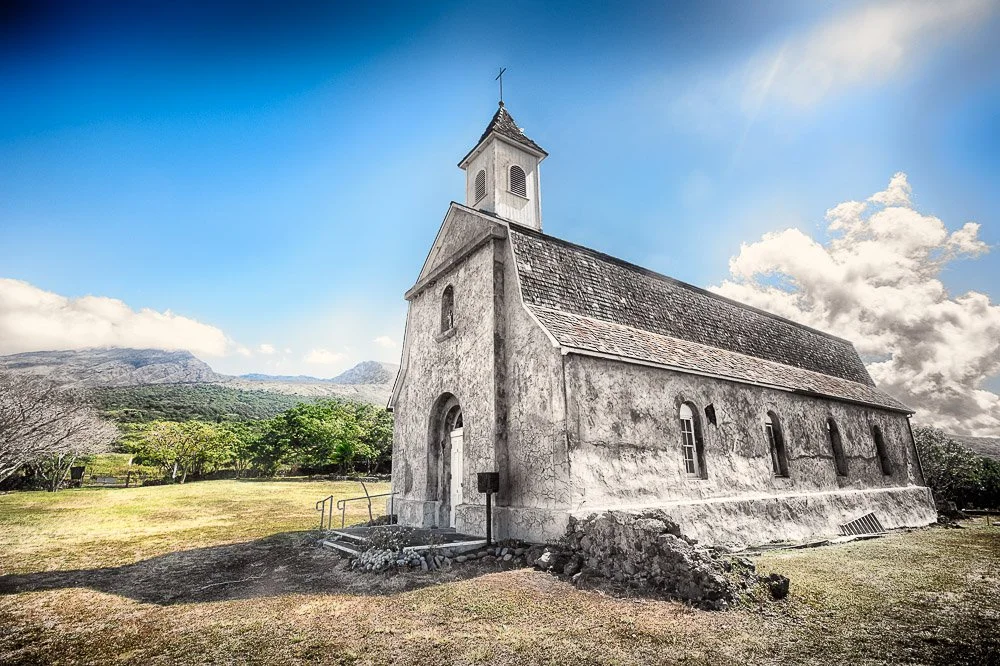
9. Maui's steep cliffs on the way to Haleakalā National Park | Hawaii 2021

US-395: From Southern California to Bodie Part 2: From Bishop to Bodie
US-395: From Southern California to Bodie Part 1: from San Diego to the Bristlecone Pine Forest.
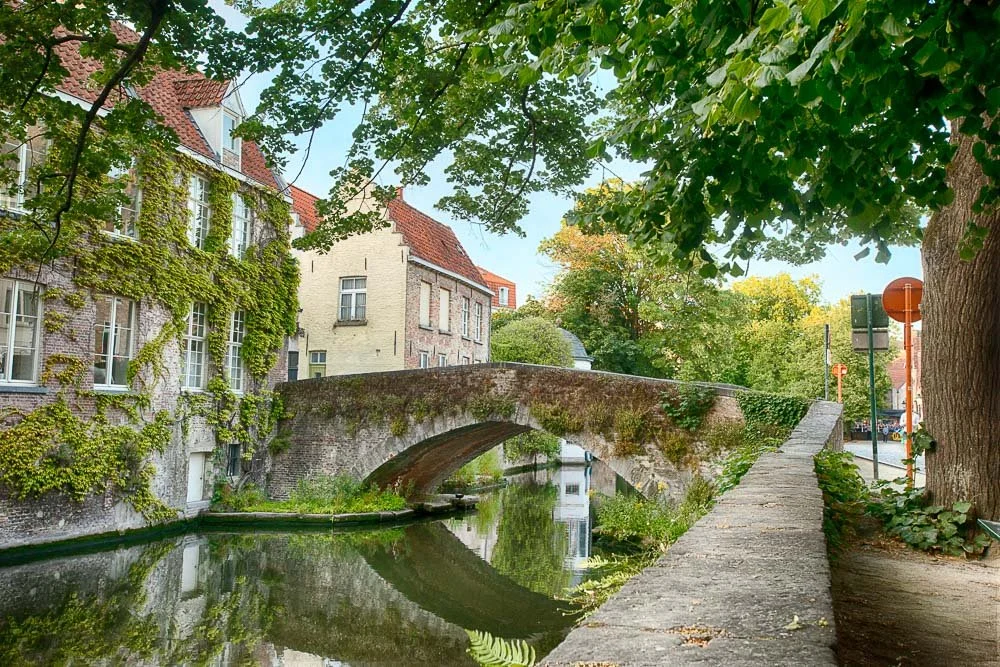
Back to Bruges (Terug naar Brugge)
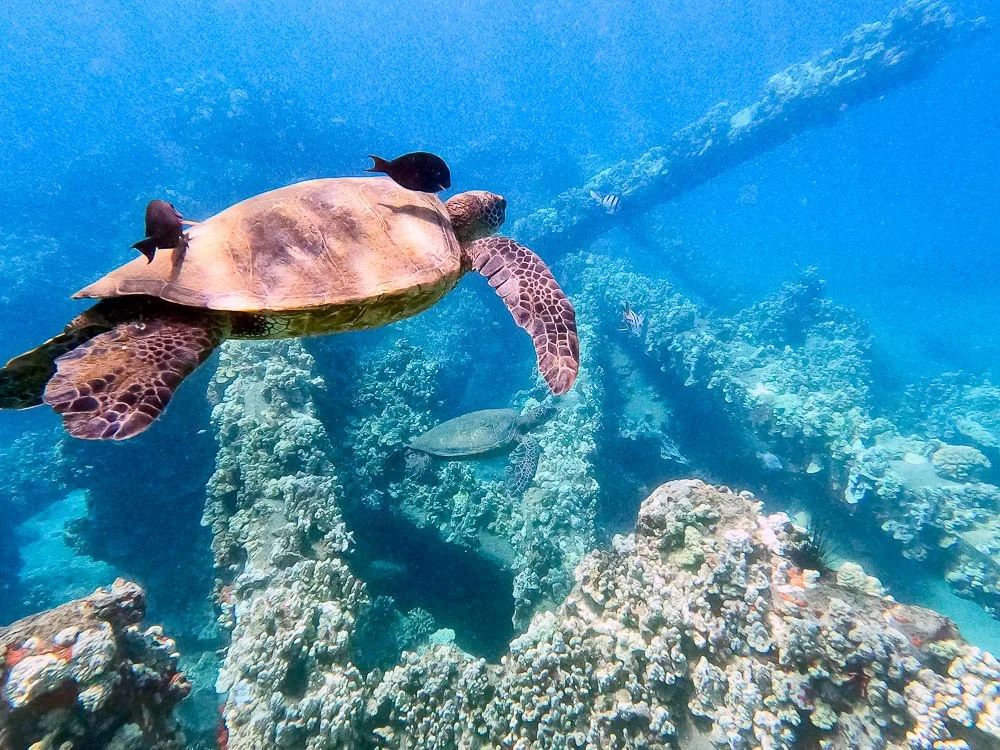
8. Sharks, Dolphins, and a Barracuda | Hawaii 2021
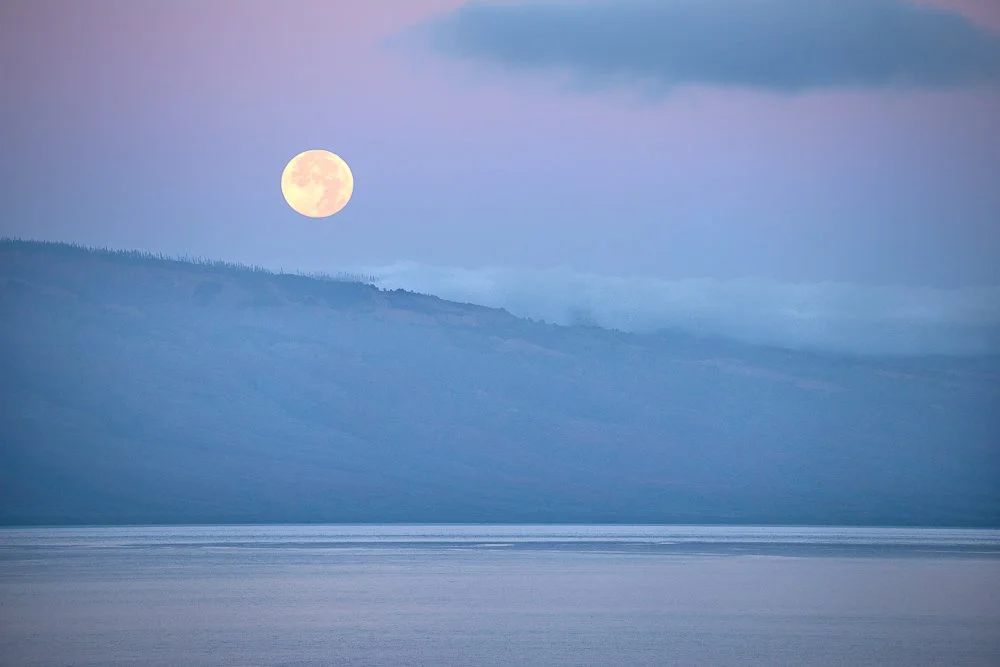
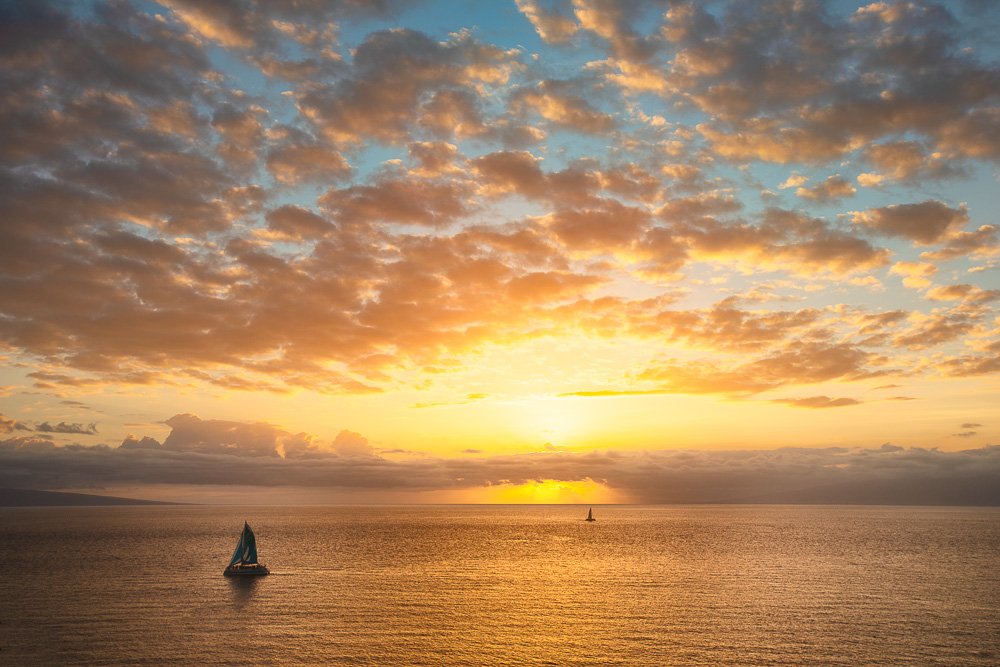
7. Full Moon over Lanai Island | Hawaii 2021
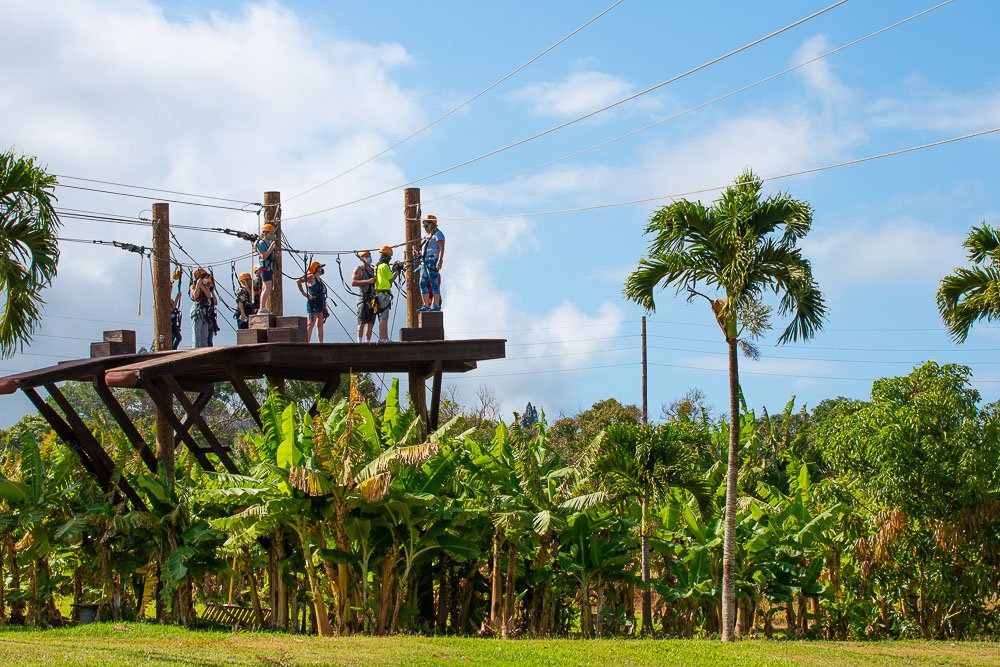
6. From the Ocean to the Skies | Hawaii 2021
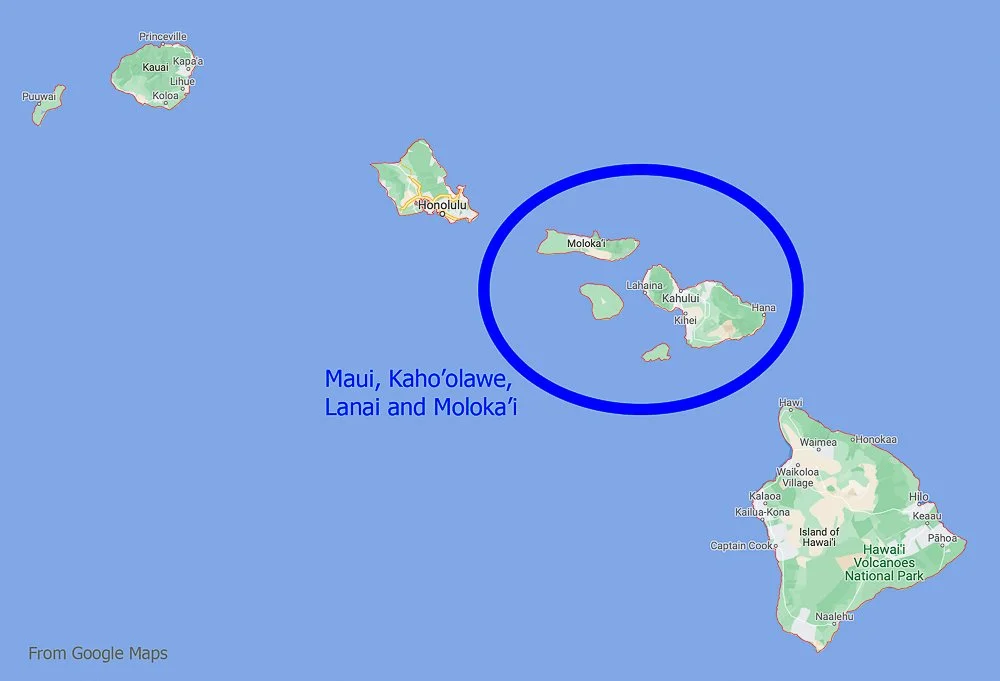
5. Researching Maui Nui | Hawaii 2021
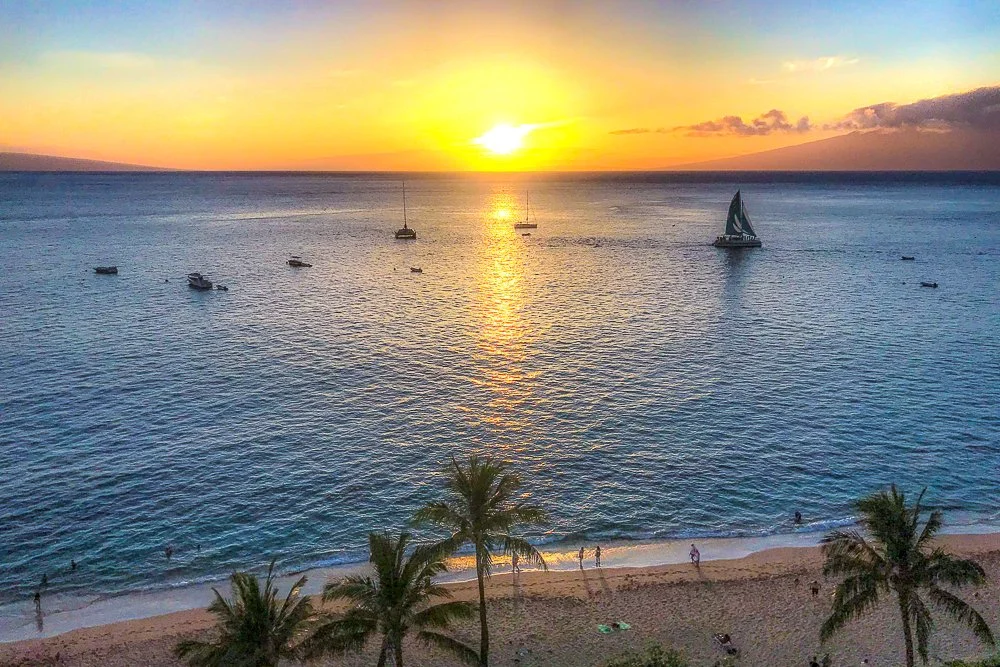
4. Base Camp at Kāʻanapali Beach | Hawaii 2021
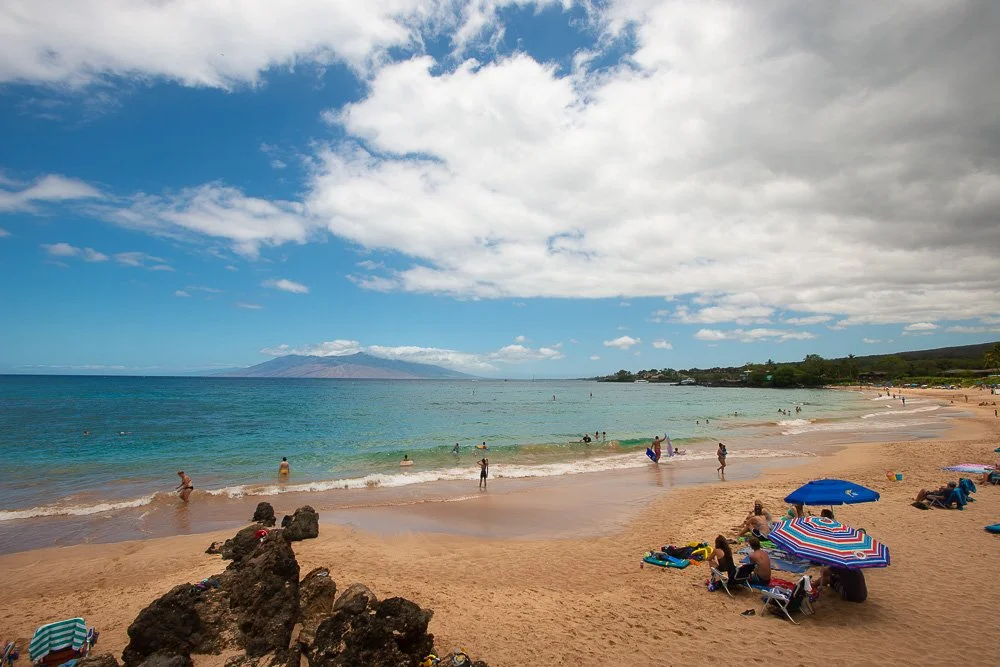
3. Maluaka Beach | Hawaii 2021

2. Kāʻanapali Beach | Hawaii 2021
1. From San Diego to Maui | Hawaii 2021
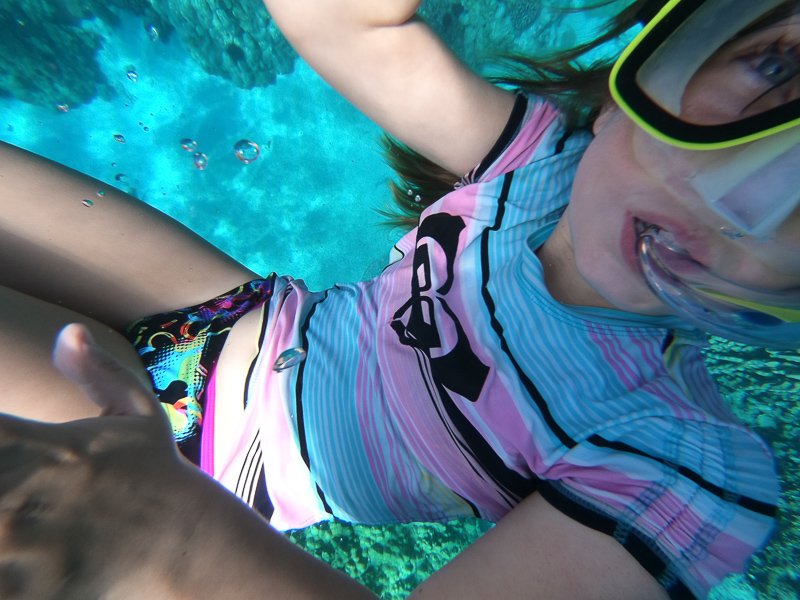
My Daughter’s Description of Our Snorkeling Day Trip in Hawaii
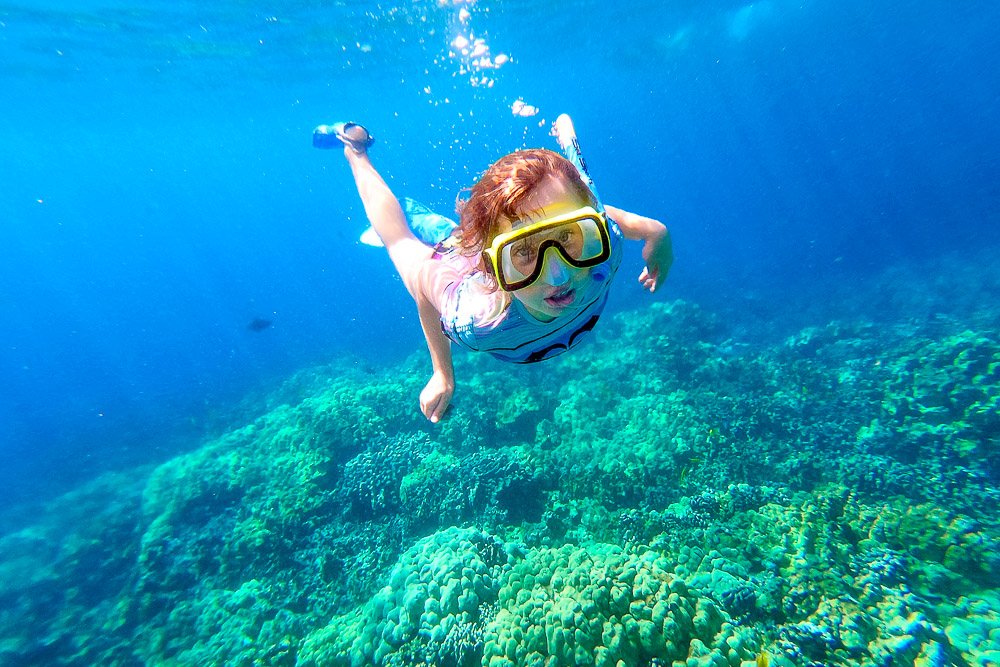
Witnessing my Daughter's Growing Snorkeling Confidence in Hawaii

California Road Trip in the Summer of 2019, Day 6

California Road Trip in the Summer of 2019, Day 5
California Road Trip in the Summer of 2019, Day 4

California Road Trip in the Summer of 2019, Day 3
California Road Trip in the Summer of 2019, Day 2
California Road Trip in the Summer of 2019, Day 1
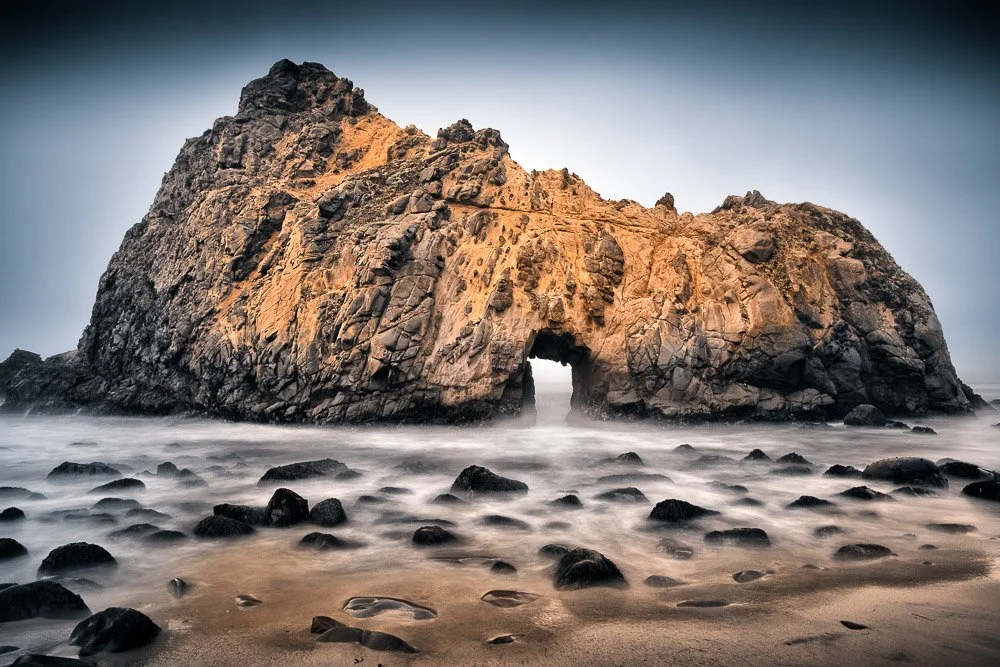
My Daughter's Description of our Time in Morro Bay, California

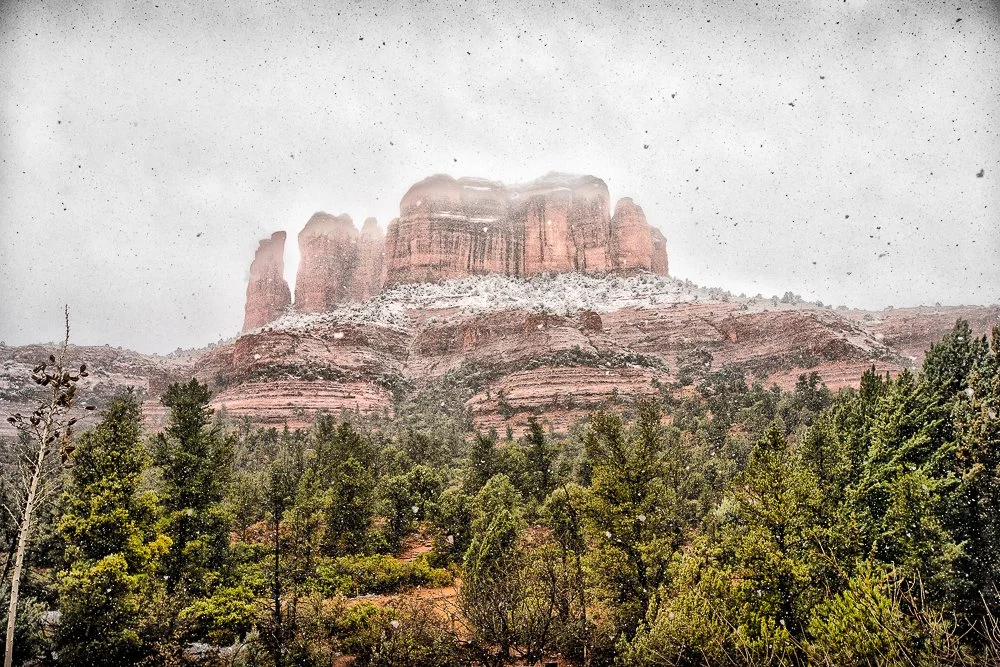
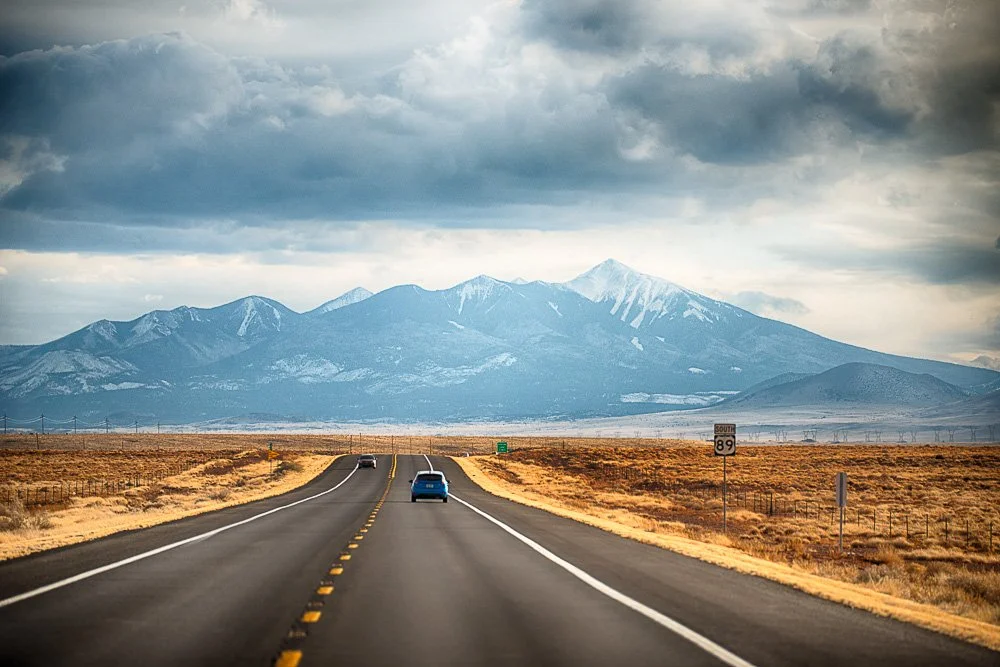
Arizona Road Trip, Day 4
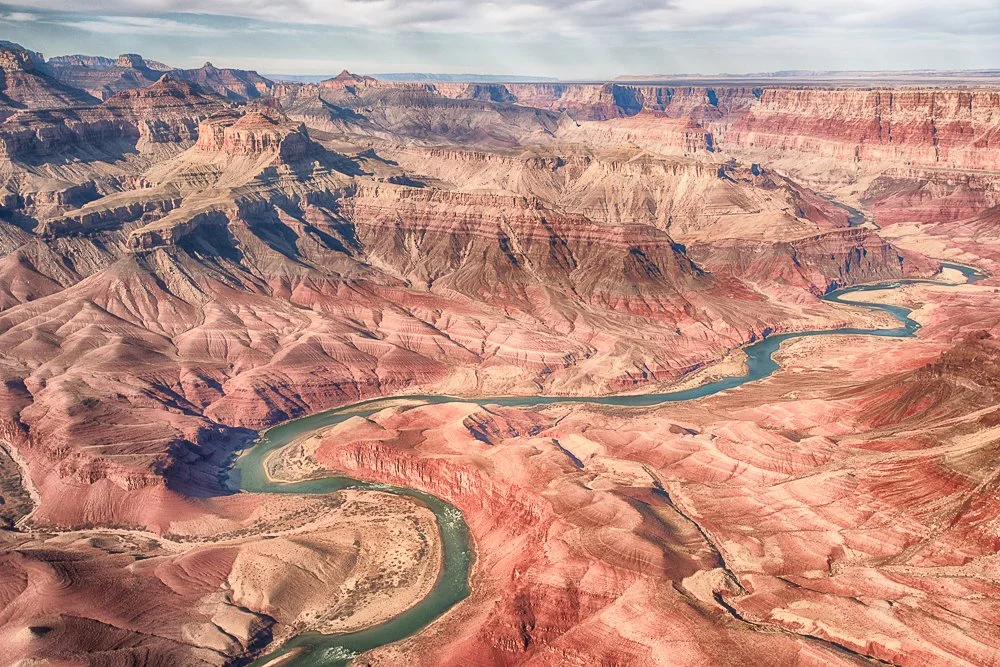
Arizona Road Trip, Day 3 Part 2
Arizona Road Trip, Day 3 Part 1
Arizona Road Trip, Day 2
Arizona Road Trip, Day 1
California Road Trip in the Summer of 2018 | Day 8, part 2
California Road Trip in the Summer of 2018 | Day 8, part 1
California Road Trip in the Summer of 2018 | Day 7
California Road Trip in the Summer of 2018 | Day 6
California Road Trip in the Summer of 2018 | Day 5

California Road Trip in the Summer of 2018 | Day 4
California Road Trip in the Summer of 2018 | Day 3
California Road Trip in the Summer of 2018 | Day 2
California Road Trip in the Summer of 2018 | Day 1

Bodie, the awesome ghost town in the Eastern Sierras
Roy Kerckhoffs arriving in San Diego from the Netherlands